Simple Sweet and Savory Springtime Salad

IMG_1850


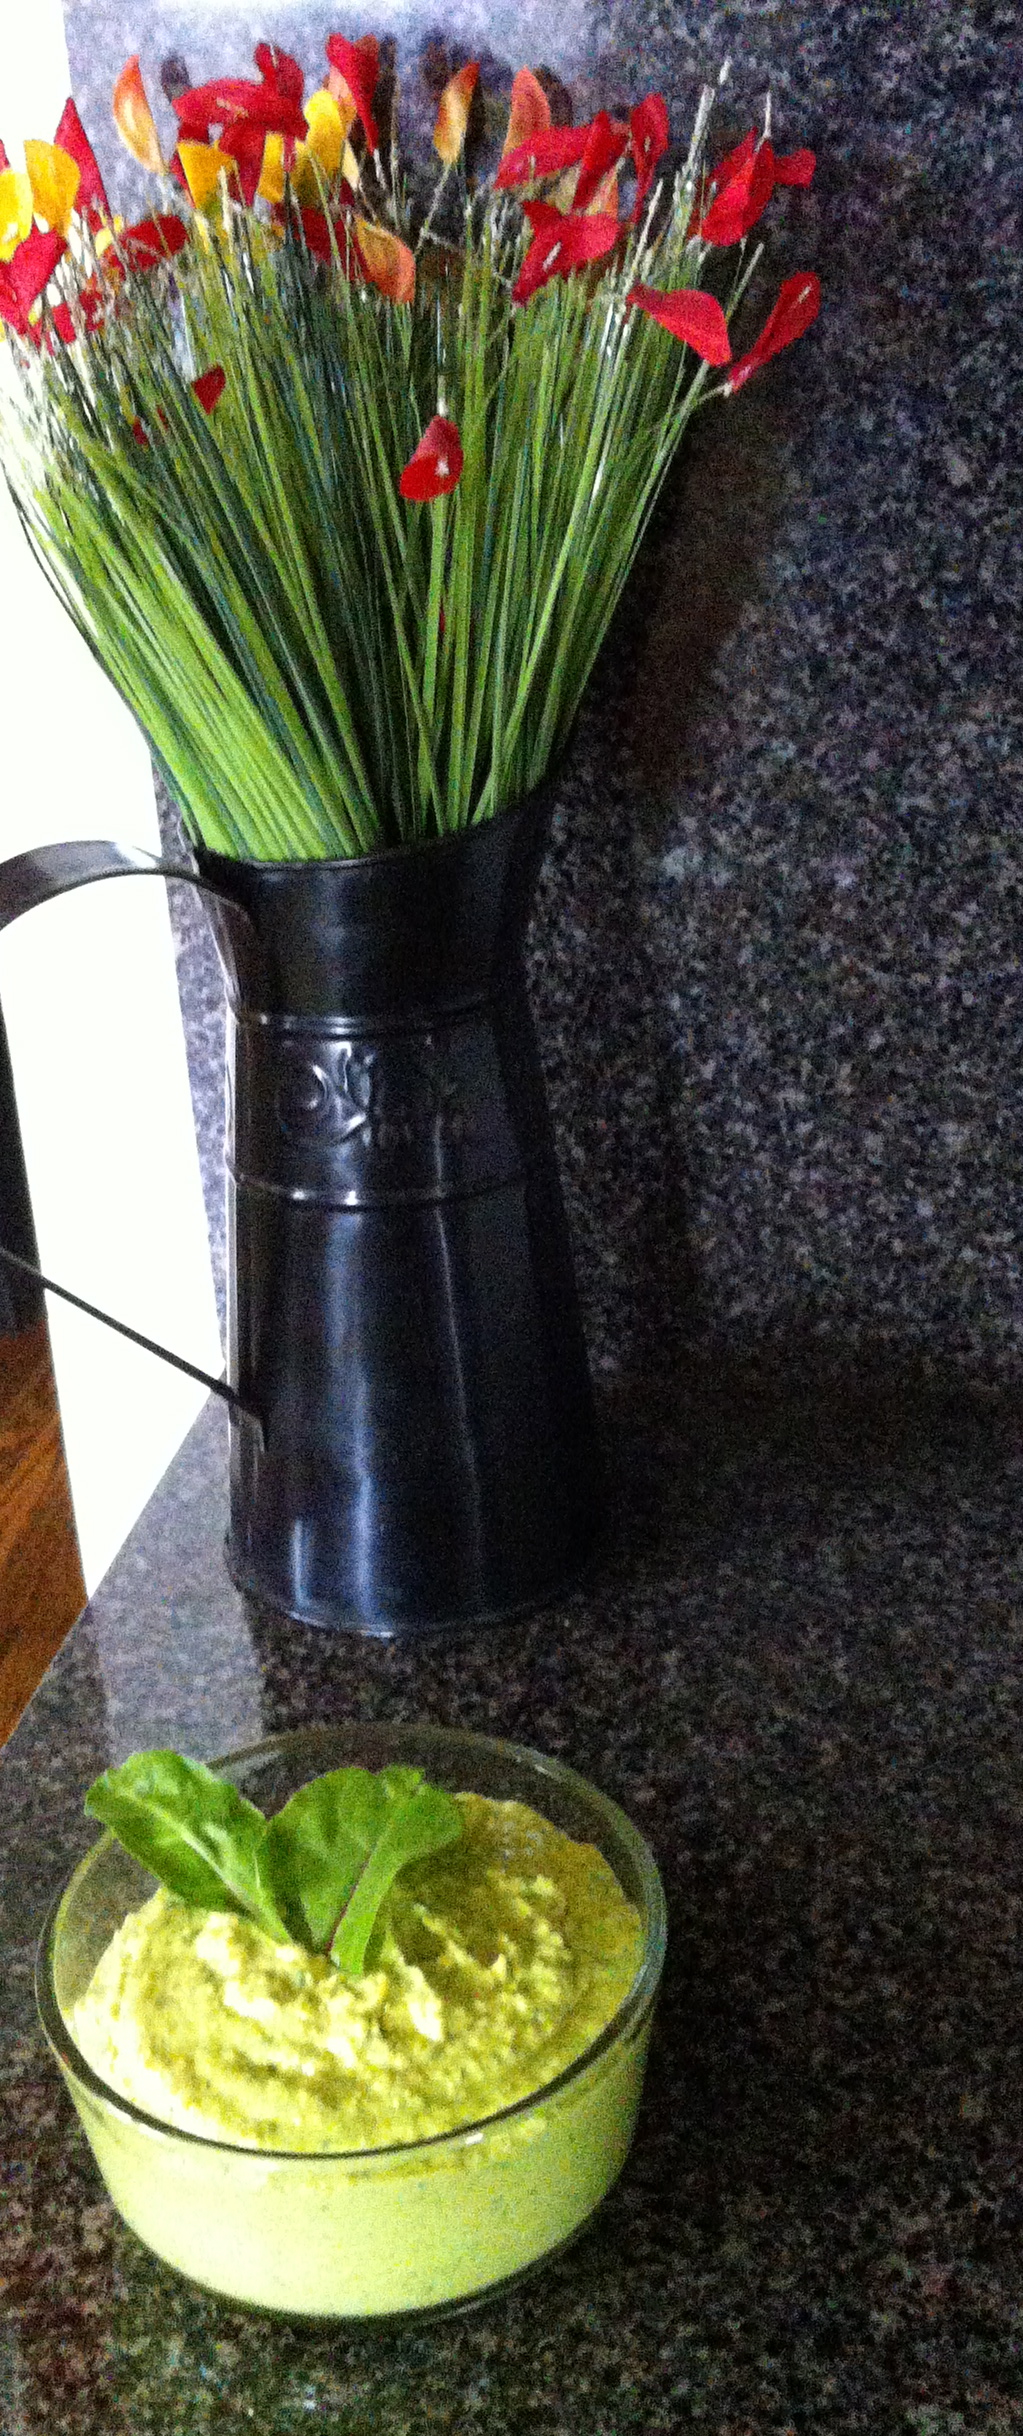
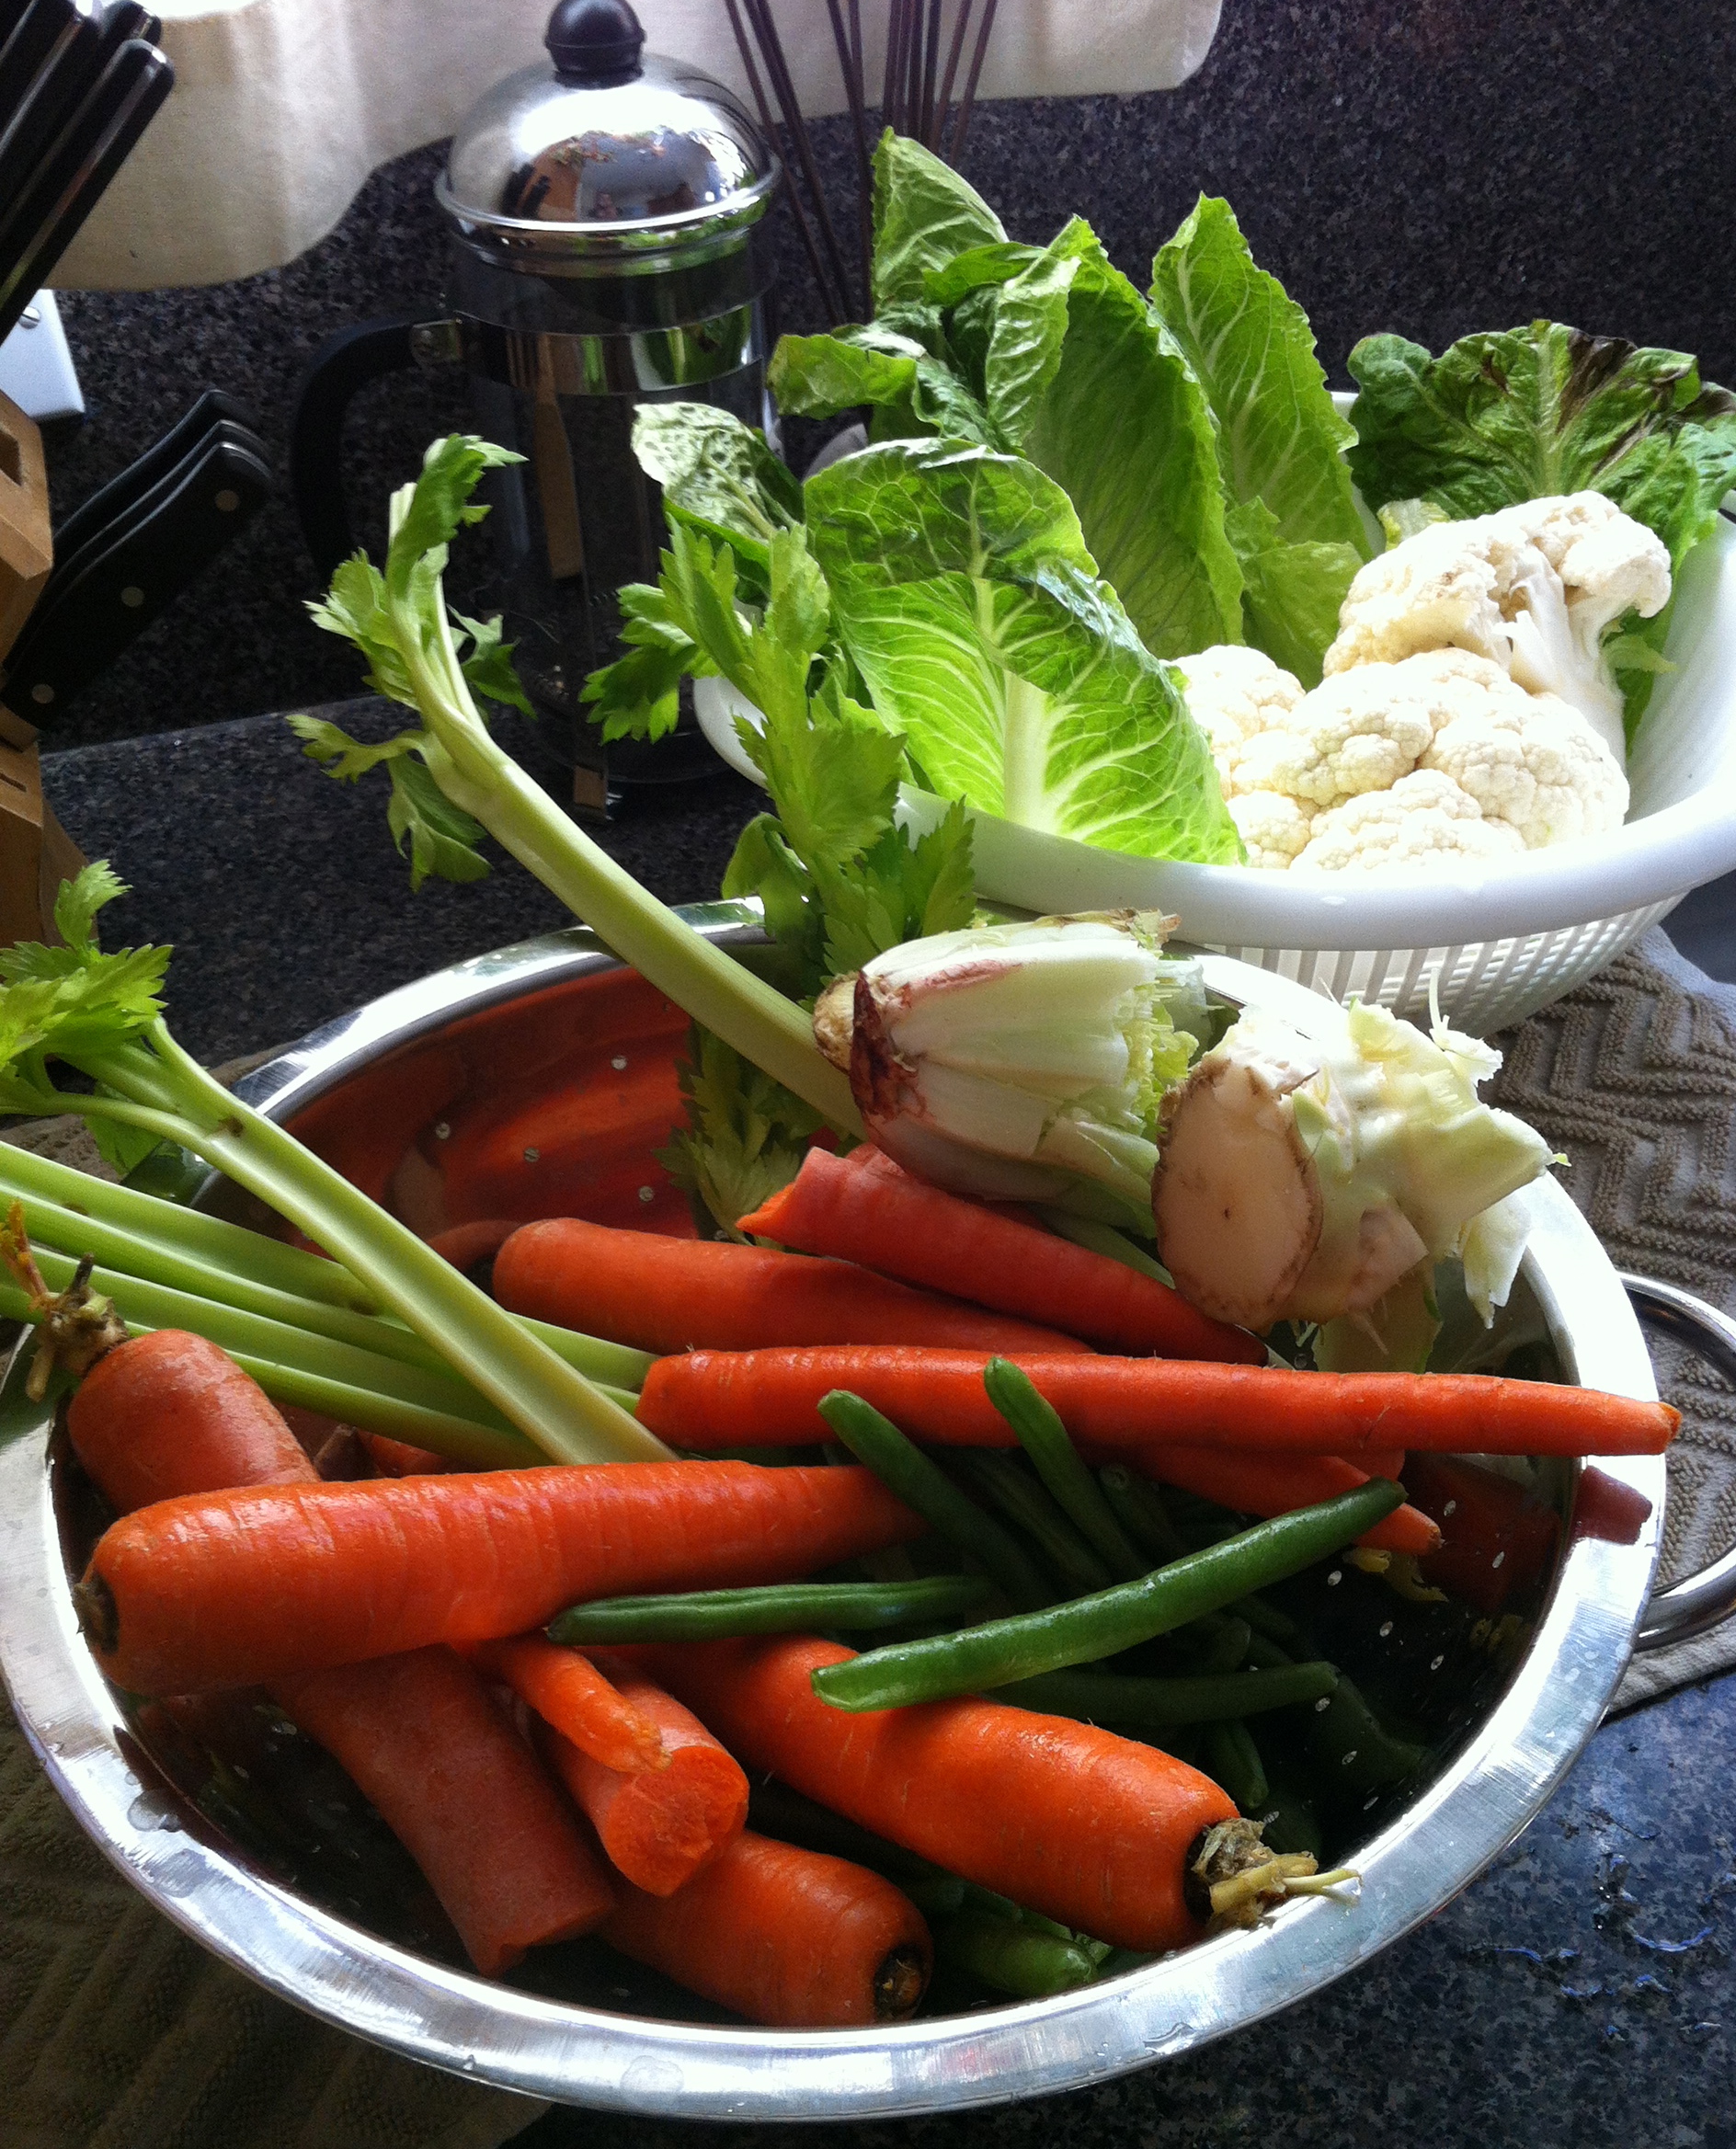
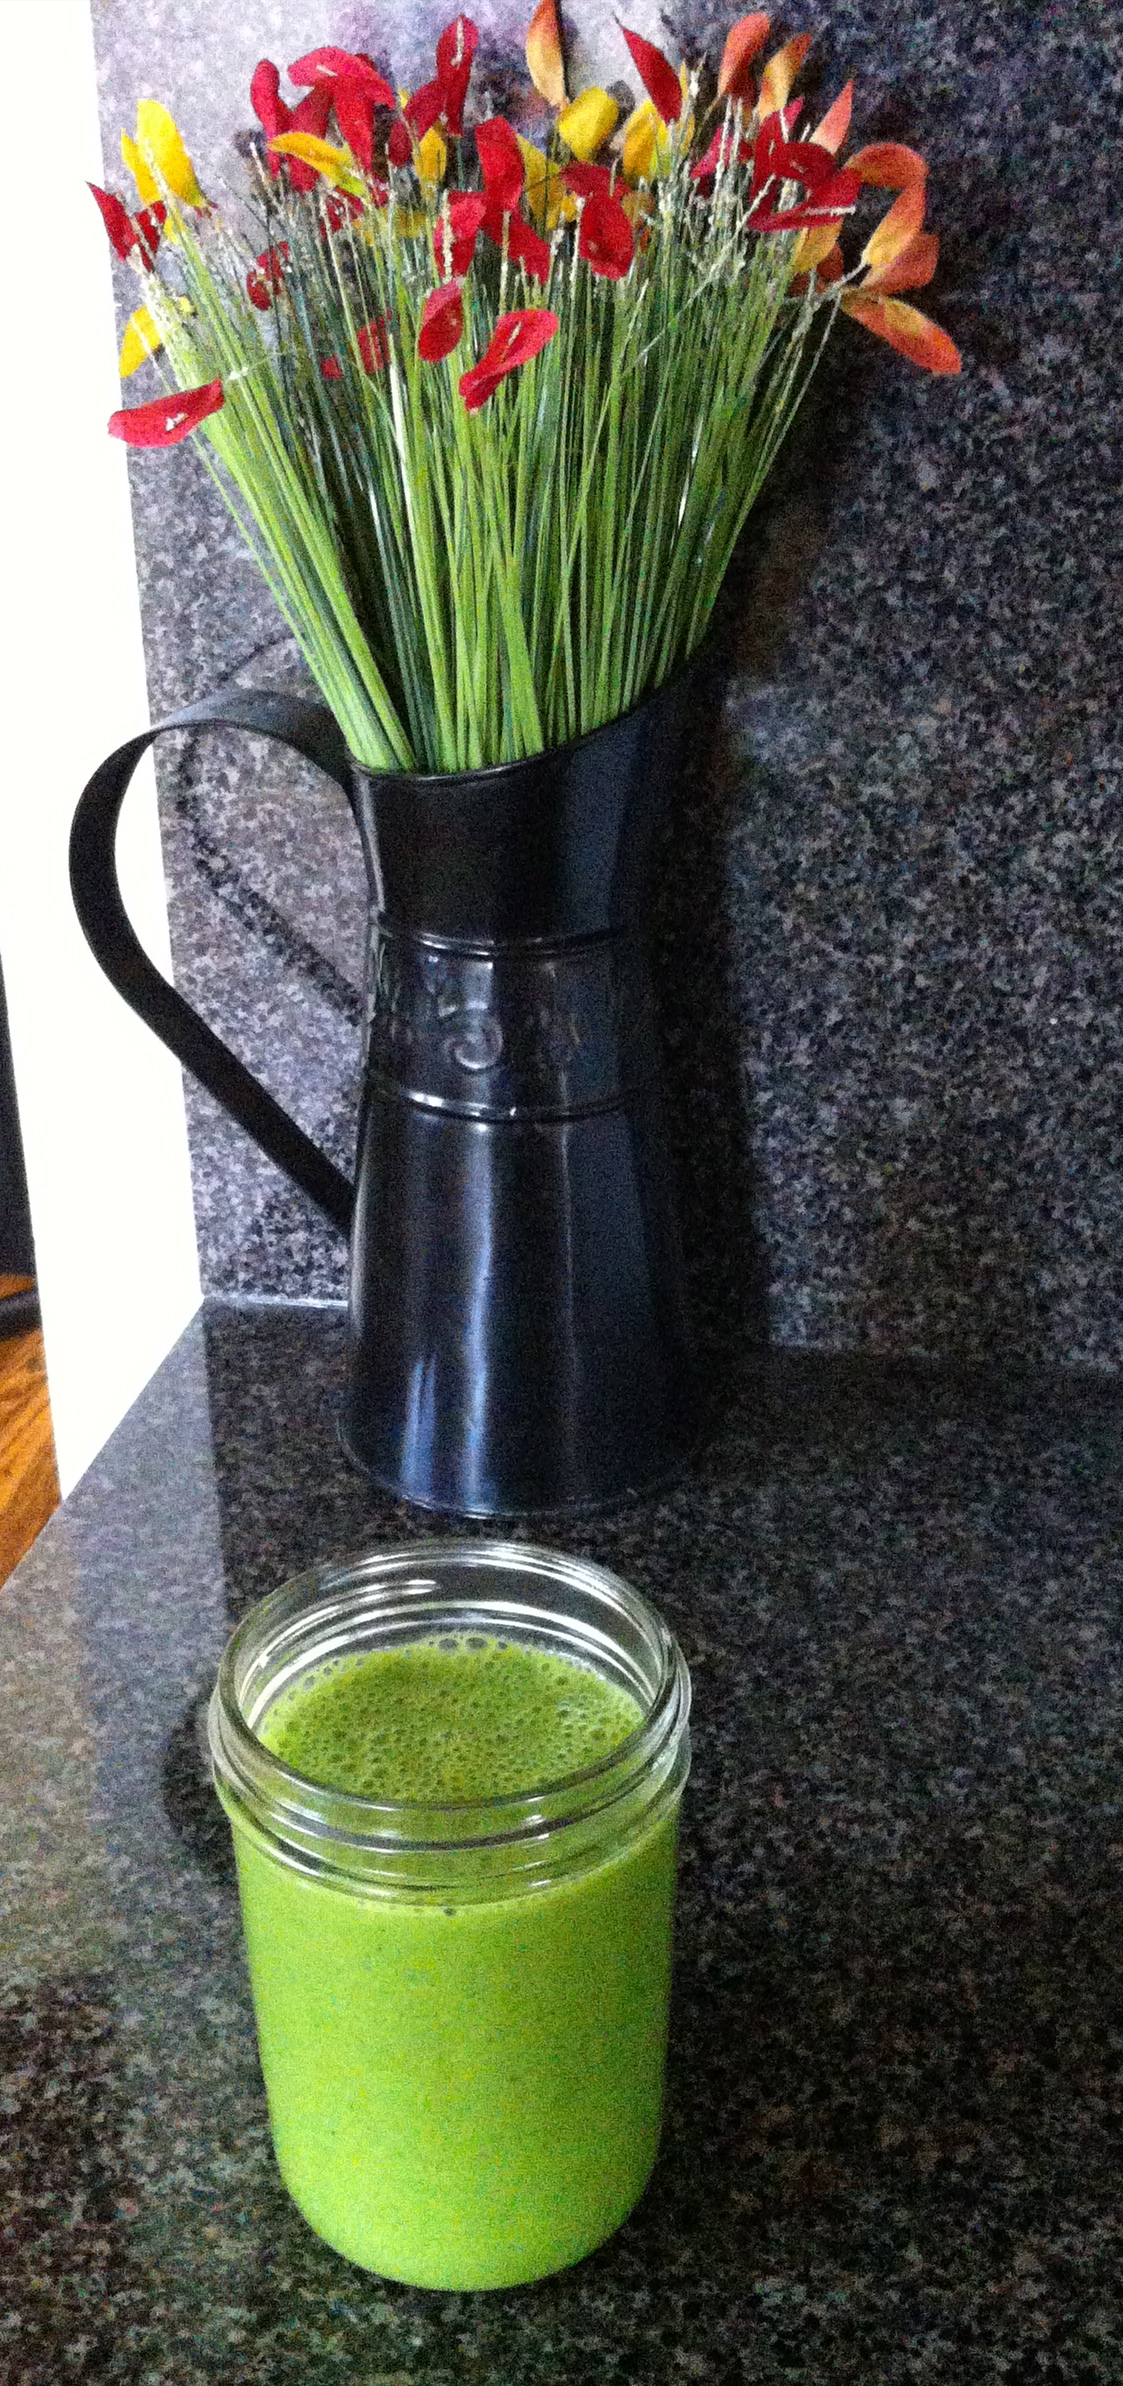
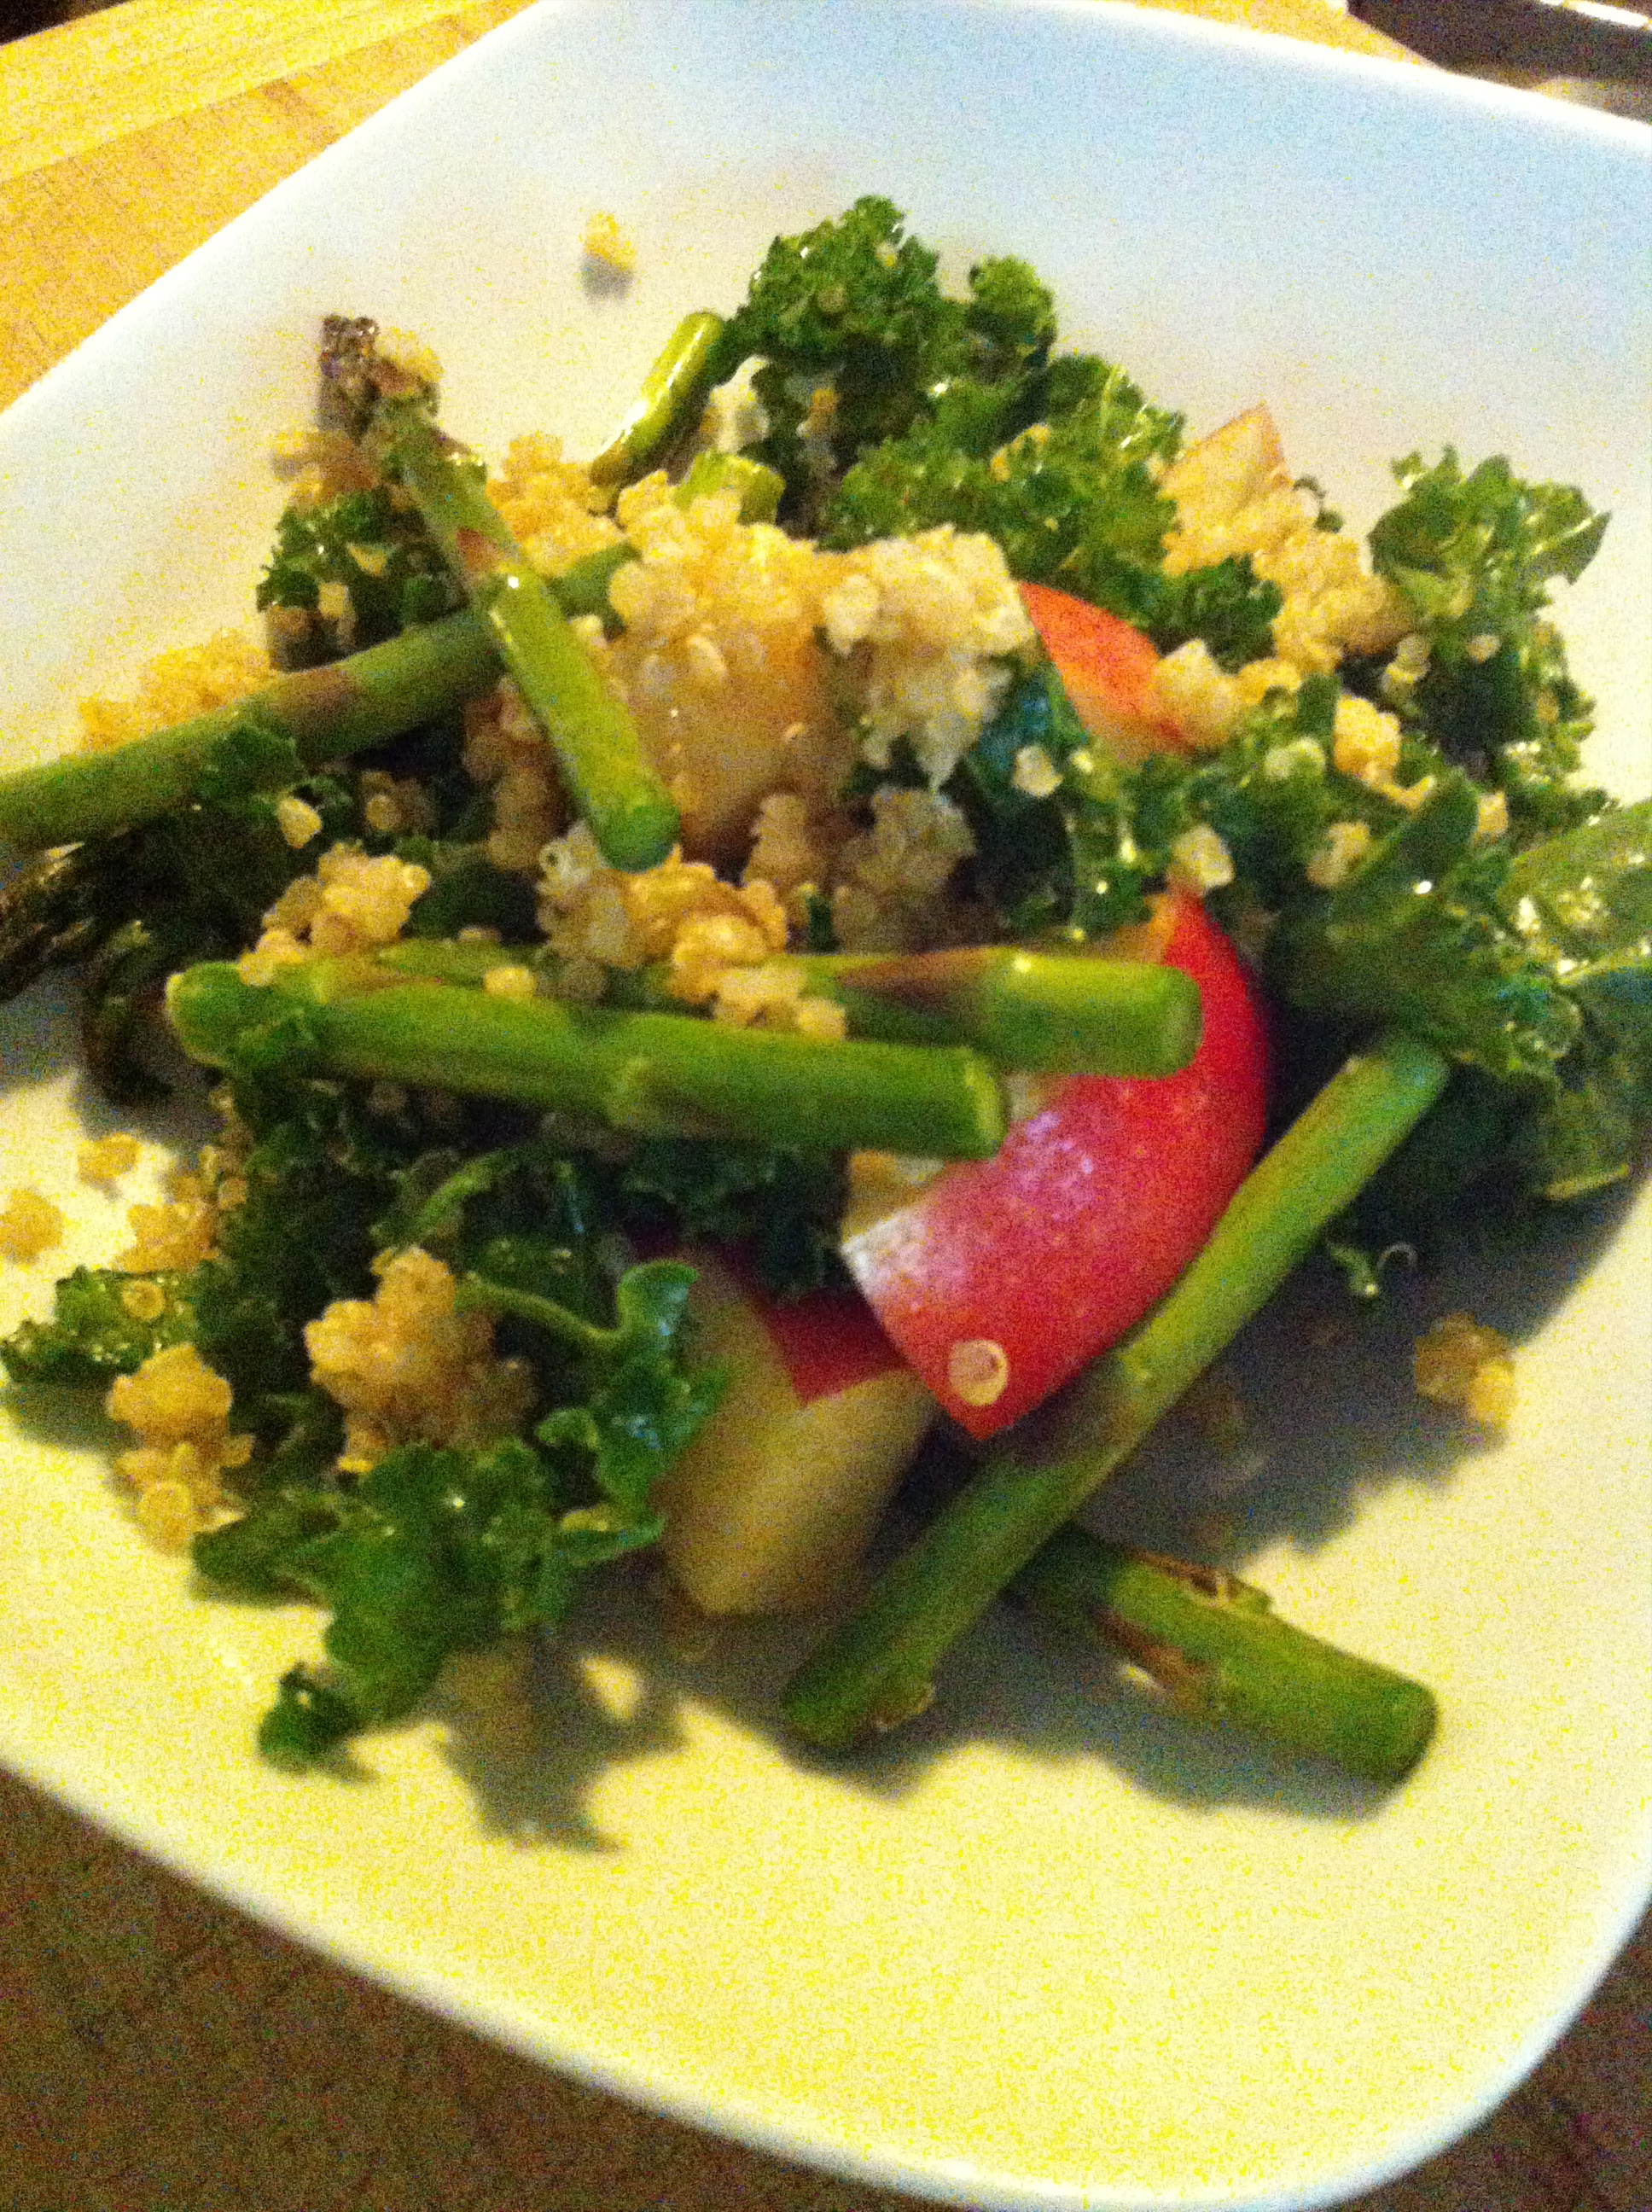
I  am so crazy glad that spring is finally here. I’m choosing to celebrate the new season by devouring as many delicious leafy greens and asparagus as I possibly can. I invite you to join me in this salad filled celebration, by sharing this very simple recipe. It takes about 20 minutes to whip up and is far more filling than you’d think. Try it (or a variation on it) this weekend!


1 cup- uncooked quinoa

1 cup- beef broth (or chicken or vegetable)

1 cup- water

4 or 5- handfuls of chopped kale

1- handful of fresh young asparagus spears (washed and trimmed and cut in to 2 inch long pieces)

1- apple (any variety chopped in to cubes)

a drizzle of sesame oil

a sprinkling of tamari (soy sauce)


Instructions: Cook quinoa as per instructions substituting the broth for one of the cups of water. Should cook up in exactly 15 minutes. While that’s happening, put the chopped kale and asparagus in a large bowl. Add the sesame oil and tamari and lightly massage the greens til they are completely coated. When the quinoa is finished, poor it on top of the veggies and mix so that the kale softens. Lastly add the chopped apple and mix again. That’s it, enjoy!

No ho-hummus here.

Do you love hummus?

Are you always looking for creative ways to get more greens into your body?

What do these two questions two have to do with each other? Maybe nothing. But maybe, just maybe a really nummy something.  Today I was making some homemade hummus. Not a big deal, right? Well, I decided that I didn’t want it to be just some boring old hummus like usual. So I decided that instead of lemon juice, I would use some plain yogurt to add zip and creaminess. Then I decide that since I needed to use up some not so fresh greens in the fridge,  that I would throw in a couple big handfuls of baby spinach, kale and chard mix. The results were spectacular.

If you don’t know me that well yet, you should know that I am not real big on recipes. I tend to make things up on the fly in the kitchen. Relying on my knowledge of taste combinations usually works just fine for me. This time was right on the money. So, what I have to offer is a rough retelling of how I made the hummus with greens. I hope it’s not too vague for you.

GreenHummus

Non-recipe:

About a cup and a half- chickpeas (soaked and cooked)

1 heaping tablespoon- tahini paste

1 clove of garlic (unless you really love the garlic, then add another)

2 tablespoons- whole milk plain yogurt

2 big handfuls of greens (any kind will do really)

Avocado oil (enough so that I thought it wouldn’t kill the Vitamix by not having enough liquid in it)

Salt, turmeric and cumin to taste

Directions:

Put all ingredients in the blender. Blend until smooth. Add more oil if it is not at desired smoothness.

GreenHummus2

That’s it! Give it a try and let me know how you like it.


Vegging Out

WeeklyVeg

I’m a bit behind this week with my veg prep. I usually try to get all of my vegetables that I’ll need for the week washed and cut by Monday afternoon at the latest. This week I’m finally getting to it on Tuesday morning. With this lovely batch, I’ll be making a big salad for my husband to take for his lunches. I’ll also have some pre-chopped veggies for quick dinners. Lastly, the scraps will be used for homemade vegetable stock. This is an invaluable time saver. I use some frozen corn, peas and spinach throughout the week too, to fill in if I run out of fresh. So take a tip from a soon to be health coach. Investing the time at the beginning of your week to prepare your ingredients, will make you life so much easier later in the week.


Pretty Little Thing

IMG_1617 Just a quick post to show off my pretty little smoothie that I made this afternoon. Not all green smoothies come out looking so vibrant and lovely. Many times, I’ll end up creating an incredibly delicious yet completely revolting looking concoction. Today was different, thankfully.

Recipe:

1 cup original almond milk

1 cup water

1 medium banana

2 pitted dates

2 handfuls chopped kale

1/2 medium cucumber

“Oh! I like kale!”

Kale
Kale (Photo credit: Wikipedia)


Getting your kids in to the kitchen to help you cook/wash vegetables/create new recipes, is the best way to get them to enjoy trying new foods. Juni, who refuses all things green, knowingly ate kale twice today. All I did differently was to let him add the greens in to the blender for our afternoon smoothie. Then tonight, when it appeared on his plate, he gobbled it all up without blinking an eye. He said, “What is it, Mama?”. I said, “It’s Kale, honey.” He said, “Oh! I like Kale!”. That’s it. No big drama. No wailing about how he doesn’t like green.

When kids touch the ingredients of the foods that they’ll be eating, it opens a door for them. They are part of the process. They have power over how much goes in to the dish or how clean the veggies get. They get to smell the raw produce, feel the texture of the grains between their fingers. See what color the beets will turn their hands, just from touching the surface after it’s peeled. It’s like they’ve stepped in to a science lab and they get to set up the experiments. The stuff we do everyday, it’s all new and cool to them.

There is a great gift to sharing time cooking with our children. A little bit each day is all it takes to raise kids that not only love cooking, but hopefully have a healthy relationship with food. Not to mention that it’s 10 minutes that you get to spend with them that doesn’t involve playing trains/princesses/secret agents/whatever it is they just begged you to play for the 17th time today.

What to do with all of those gorgeous veggies this fall.

I am lucky enough to live near several farms that produce either certified organic, transitioning to organic or sustainably grown produce from May to the end of November. After all, New Jersey is called the Garden State for a reason. We have some of the most lovely farm land in the country. Now that the weather is starting to turn cooler in the mornings and evenings I am happy to get back to one of my favorite ways of cooking all those beautiful tomatoes, onions, garlic, squash, tomatillos, peppers, green beans, eggplants and whatever else shows up in my farm share box each week. Oven roasted vegetables have such an amazing flavor and are so easy to incorporate in to your everyday dishes.

To me the best way to use up the weekly harvest before it goes bad is to make homemade pasta sauce. It’s such a simple way to make sure my family is getting the most nutrition out of something they already love. This week we received our first batch of tomatillos in our share and I was so excited to see them. Most people use them in salsas, but I love the zippy flavor they give to sauces and soups. So I added them to the regular line up of veggies and the results were as expected.

I know most people use some sort of oil when they roast vegetables. I choose to dry roast them except for a bit of water in the bottom of the roasting dish. I feel like I am getting the true, sweet, rich flavors of the vegetables rather than the flavor of the oil this way. Also, it’s really much healthier to drizzle a bit of olive oil on after if you love that flavor, than it is to roast them in the oil. Here’s why.
Tonight’s pasta sauce was made with:

3- large tomatoes

1- large red onion cut in half

3- cloves of garlic

10- tomatillos

This morning while the oven was preheating to 400 degrees, I washed the tomatoes and took the outer leaves off the tomatillos and gave them a good rinse. I put all of the veggies in a large glass baking dish with a half an inch of water in the bottom. I set the timer for 30 minutes and read my little guy a story. When the timer went off, I took the dish out of the oven and let it cool on top of the stove til the afternoon. When I was ready to make the sauce, I put two batches of veggies in to the blender and blended it to a smooth red sauce.

Now I have a large container of delicious pasta sauce that I can season any way I want with fresh or dried herbs and spices.

RoastedSauce

*A helpful hint that I learned from my parents when it comes to making homemade tomato sauce, is to cook a carrot in the sauce to cut down on the acidity level of the tomatoes. I also like to add a tablespoon of butter to my sauce when I’m heating it up to add to pasta. The added oil and fat from the butter helps to absorb more nutrients from the vegetables. Here’s a little article from WebMD on that.

Slow Roasting In Summer, For Realz!

Thanks to a food blog (that slips my tired brain right now) I recently found out that I can roast veggies in a slow cooker! This is huge. I love roasted vegetables in the fall and winter months, but haven’t done much roasting in the summer for obvious reasons. Um, hello! Way to hot to have the oven on 400 degrees for any amount of time. So, before now, I haven’t been able to enjoy the awesome flavors of roasted squash, tomatoes, peppers, onion, garlic… you get the picture. That’s all changed, my friends. Oh yes, it is officially on!

Today I made homemade pasta sauce, using roasted tomatoes, zucchini, yellow summer squash, yellow onion and garlic in the crock pot on high for 3 hours. This process added almost no heat to the kitchen and took very little of my precious child rearing time. I greased the crock pot lightly with coconut oil, added the cut up veggies, seasoned them with salt, pepper and fresh oregano and drizzled it all with a bit of olive oil.


At the end of the 3 hours, I spooned it all in to the food processor and voila! Delicious, perfectly roasted pasta sauce. I wish I could say  that the pasta was perfectly cooked, but alas, it was overcooked and mushy. You can’t have it all, I guess.

sauce